
Getting started with workspaces
Workspaces are available on the Professional and Enterprise plans
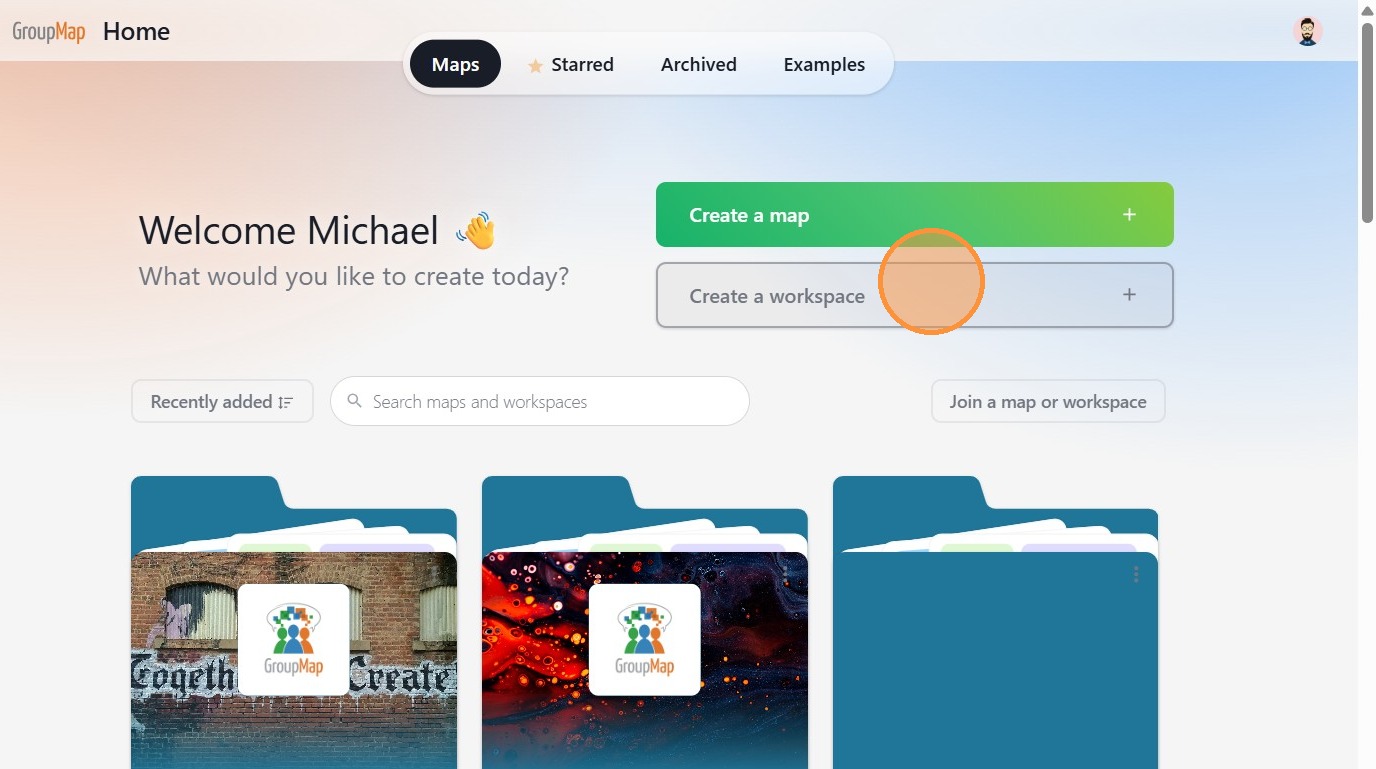
To create a workspace
1. On your GroupMap homepage, click Create a workspace.
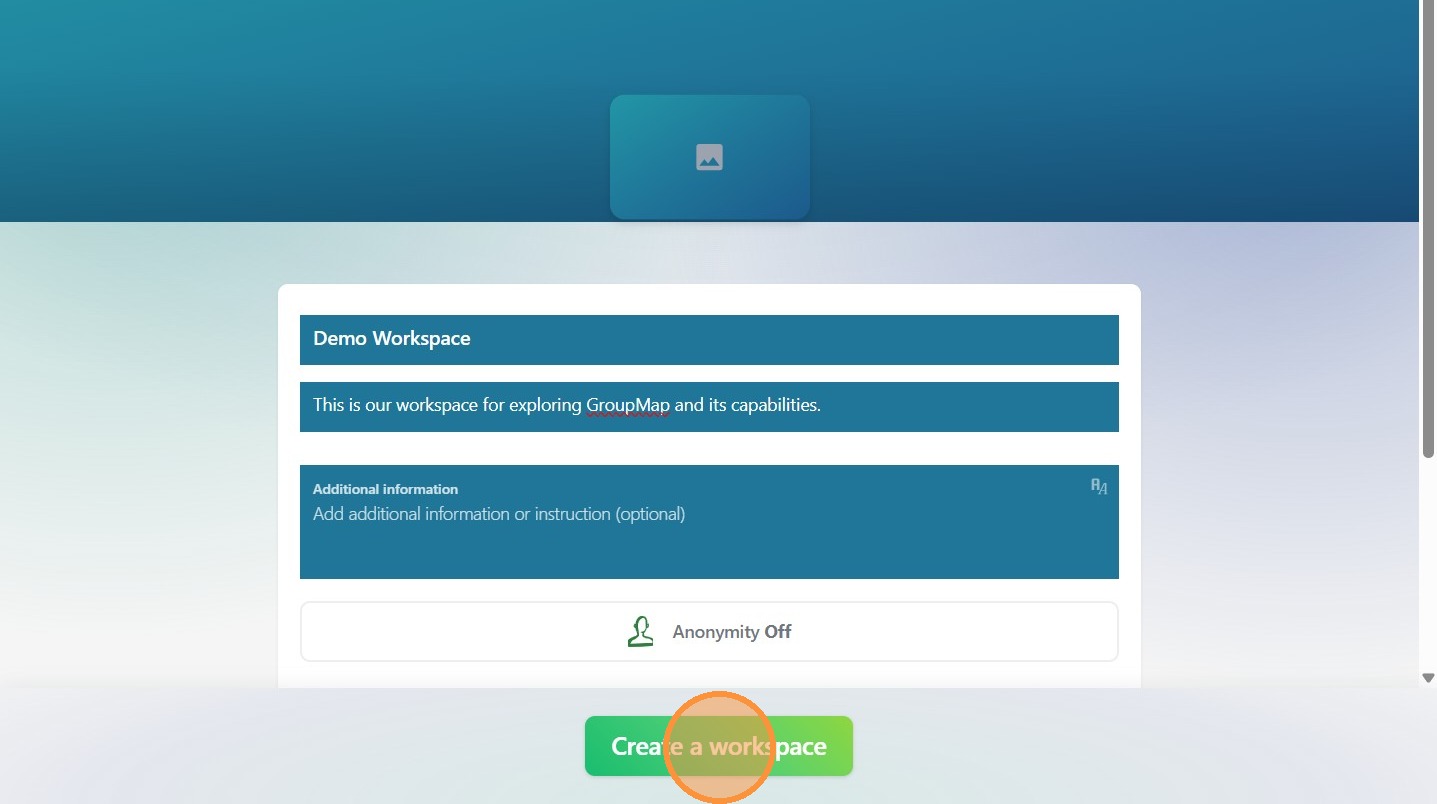
2. You will be presented with the workspace customization screen.
Add details:
- Name the workspace. Add a description (optional).
- Upload a workspace logo by clicking the picture icon (above center).
- Customize the workspace color by clicking the painters palette icon (bottom right).
- Upload a workspace background image by clicking the picture icon (bottom right).
-
Set the workspace anonymity level
You can still enable anonymity on individual maps in a workspace; however, you will not be able to disable anonymity on an individual map if the workspace is anonymous.
When you are finished customizing your workspace, click Create a workspace (center bottom).
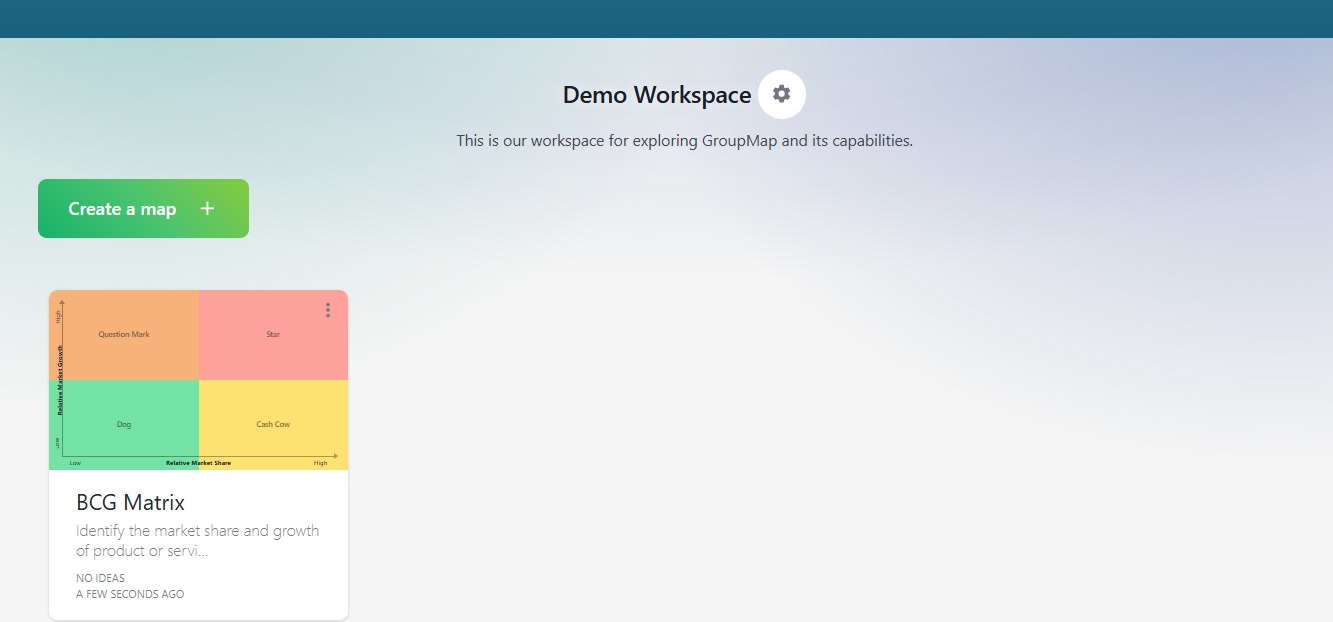
3. You will be redirected to your new workspace home page.
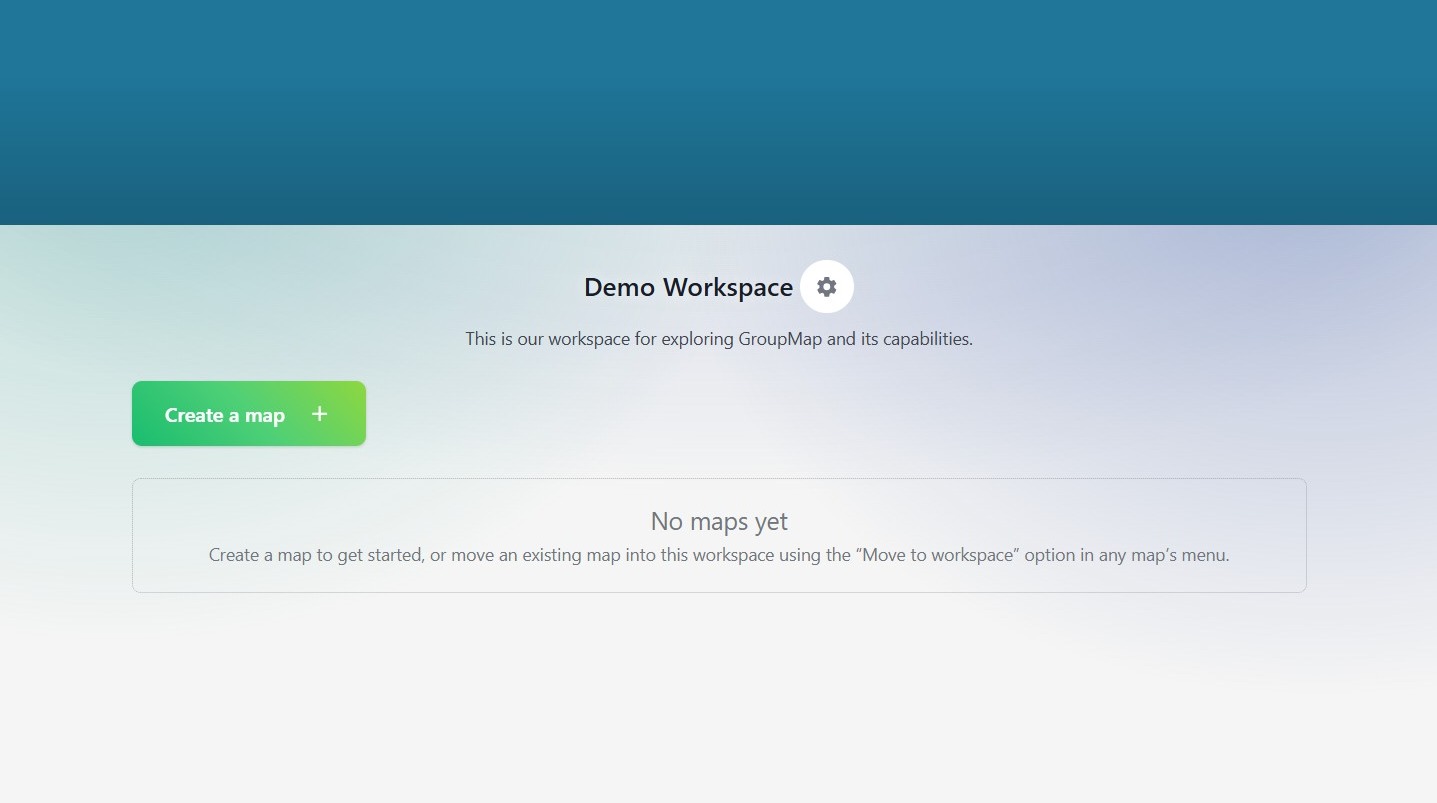
To add a map to a workspace
4. In your workspace home page, click Create a map.
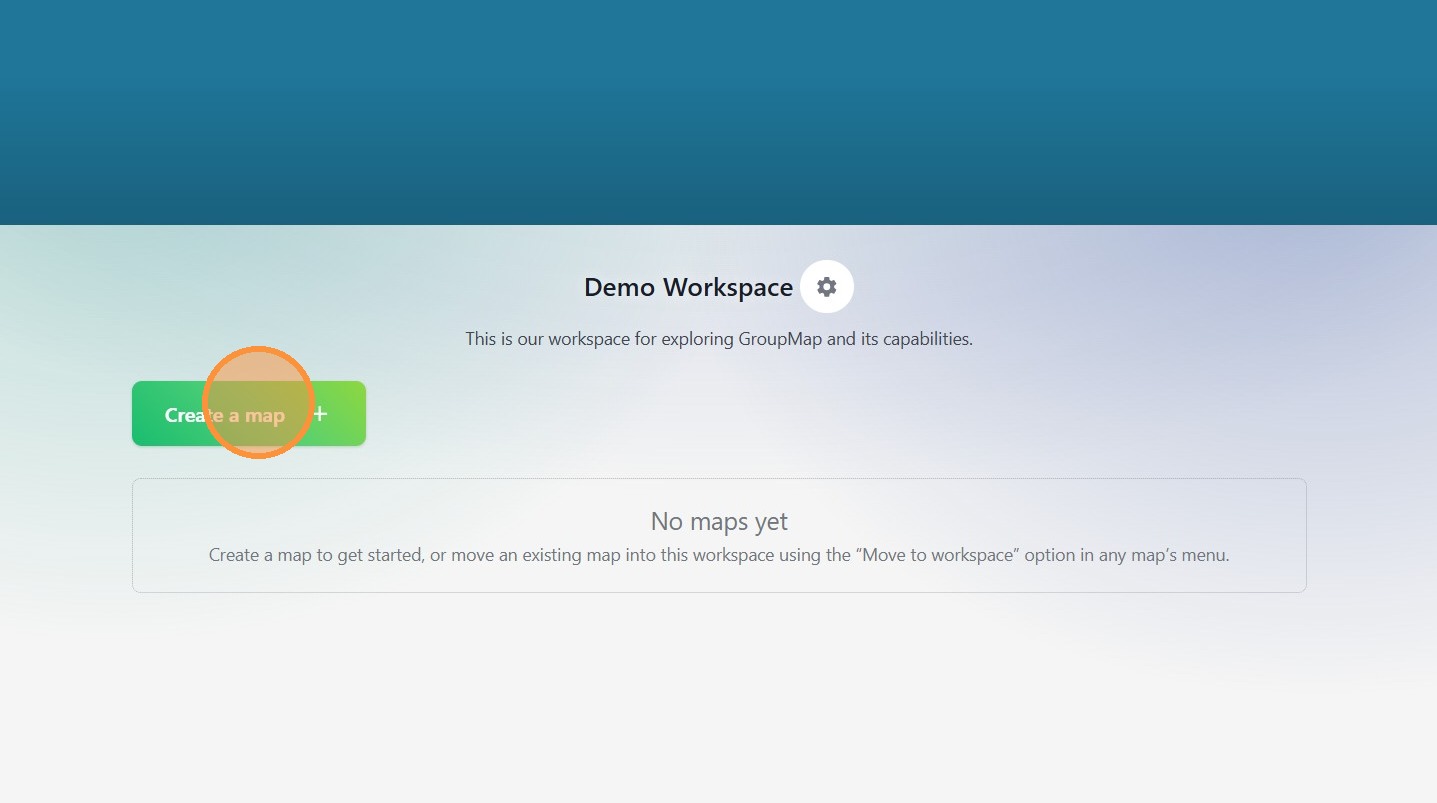
5. Select a map template, and customize the map. For more see Creating a new map.
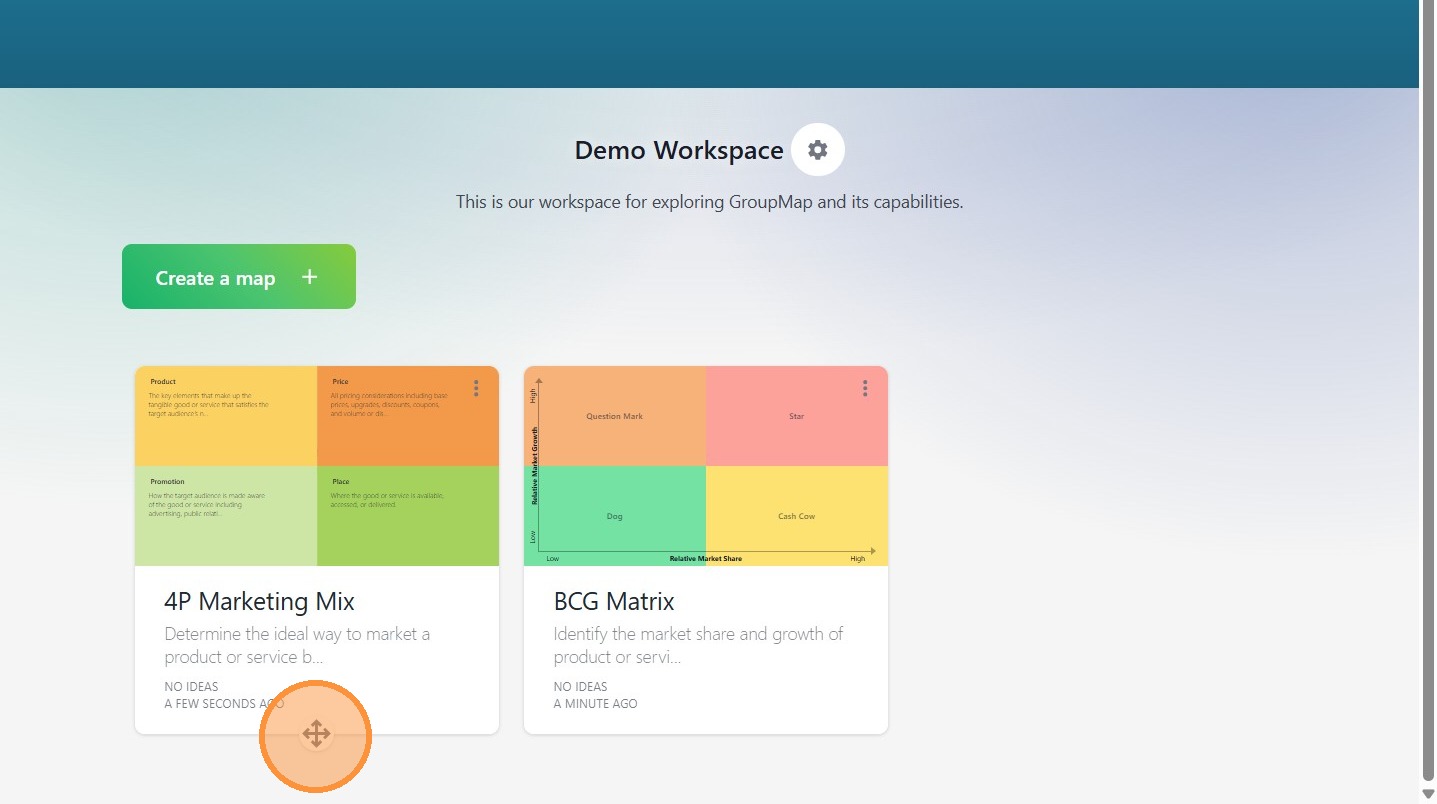
6. Once you've created your map, it will appear on the workspace home page.
7. If you have multiple maps in your workspace, you can adjust the order by clicking the left or right arrow buttons that appear when you hover the cursor over the map.
To invite participants to your workspace
- From your workspace home page, click Invite (top right) or select on the Participants tab, and click Invite participants.

The invitation process for workspaces is the same as for individual maps.
For details see Inviting and managing participants.